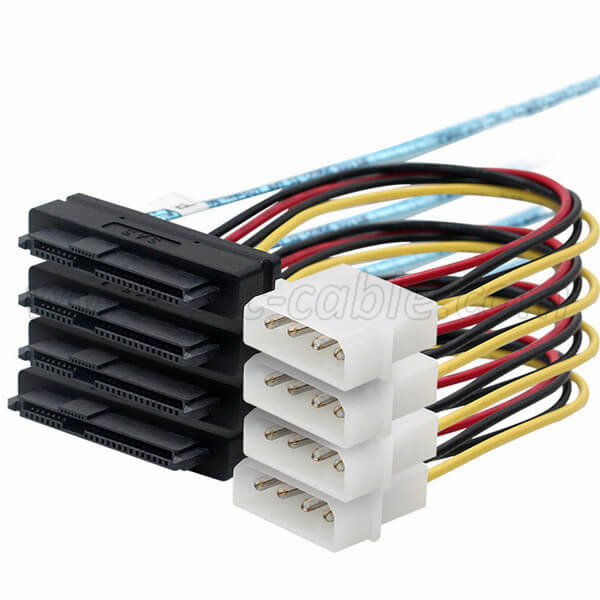
How do I connect my mini-SAS?
Connecting Mini-SAS (Mini Serial Attached SCSI) cables involves a few straightforward steps. The exact process depends on whether you're connecting internal or external devices. Here’s a step-by-step guide for both scenarios:
1. Connecting Internal Devices
Components Needed:
1> Mini-SAS Cables: Typically with SFF-8087 connectors.
2> RAID Controller or Motherboard with Mini-SAS Ports: Often used to connect to multiple drives.
3> SAS or SATA Drives: The devices you want to connect.
Steps:
1> Power Down the System: Ensure that the server or workstation is turned off and unplugged from any power source.
2>Locate Mini-SAS Ports:
RAID Controller/Motherboard: Identify the Mini-SAS ports on your RAID controller or motherboard. These are usually located at the rear of the motherboard or on the RAID controller card.
3> Connect Mini-SAS Cable to RAID Controller/Motherboard:
Insert one end of the Mini-SAS cable (SFF-8087) into the Mini-SAS port on the RAID controller or motherboard. The connectors are keyed to ensure correct orientation, so they should fit snugly.
4> Connect the Other End to the Storage Drives:
Internal Drives: Connect the other end of the Mini-SAS cable to the internal SAS or SATA drives. This might require an adapter if your drives have different connectors.
Drive Backplane: In some systems, you might connect to a drive backplane, which consolidates multiple drive connections.
6> Secure Connections: Ensure that all connections are secure and properly seated.
7> Power On the System: Plug the system back in and power it on. Check if the connected drives are recognized by the system or RAID controller.
2. Connecting External Devices
Components Needed:
1> Mini-SAS Cables: Typically with SFF-8088 or Mini-SAS HD connectors.
2> External Storage Enclosure: With Mini-SAS ports.
3> Host Adapter/RAID Controller: On the server or workstation.
Steps:
1> Power Down the System: Turn off the computer or server and unplug it from the power source.
2> Locate Mini-SAS Ports:
External Storage Enclosure: Identify the Mini-SAS ports on the storage enclosure.
Host Adapter/RAID Controller: Locate the corresponding Mini-SAS ports on the host system.
3> Connect Mini-SAS Cable to the Host Adapter/RAID Controller:
Insert one end of the Mini-SAS cable (SFF-8088 for external connections) into the Mini-SAS port on the host adapter or RAID controller.
4> Connect the Other End to the External Storage Enclosure:
Insert the other end of the Mini-SAS cable into the Mini-SAS port on the external storage enclosure.
5> Secure Connections: Make sure that both ends of the cable are securely connected and properly seated.
6> Power On the System: Plug the system back in and power it on. Also, power on the external storage enclosure. Verify that the system recognizes the external storage device.
Tips for Successful Connections
1> Check Compatibility: Ensure that the Mini-SAS cables, connectors, and devices are compatible with each other (e.g., SFF-8087 vs. SFF-8088 or Mini-SAS HD).
2> Handle with Care: Mini-SAS connectors and cables are sensitive to physical damage, so handle them carefully to avoid damaging the connectors.
3> Consult Documentation: Refer to the user manuals for specific instructions on connecting devices, as different manufacturers may have specific requirements or recommendations.
By following these steps, you can effectively connect Mini-SAS cables to internal or external devices, ensuring a high-speed and reliable data connection in your computing environment.
Send your message to us:
Post time: Jul-23-2024
