How do I connect an SSD to my laptop using SATA cables?
To connect an SSD to your laptop using SATA cables, follow these steps:
1. Get the Right SSD:
Make sure you have a 2.5-inch SATA SSD. These are commonly used for laptops and desktops.
Confirm that your laptop supports SATA SSDs.
2. Prepare the Tools:
You’ll need a SATA-to-USB adapter or an external enclosure. This allows you to connect the SSD externally via USB.
If you’re replacing an existing drive, back up your data first.
3. Connect the SSD:
Plug the SATA connector of the adapter into your SSD.
Connect the USB end of the adapter to an available USB port on your laptop.
4. Detection and Configuration:
Your laptop should automatically detect the SSD as an external drive.
If not, initialize the SSD using your laptop’s disk management utility.
SATA SSDs are great for everyday tasks, while NVMe SSDs offer even faster speeds for demanding applications like video editing or gaming. Choose based on your needs and budget12. If you’re using an M.2 form factor, ensure it’s NVMe for maximum performance.
How many types of SATA cables are there?
A Serial Advanced Technology Attachment (SATA) cable is a special wire used to connect storage drives (such as hard drives, solid-state drives, and optical drives) to a computer’s motherboard. Here are some key points about SATA cables:
1. Function:
SATA cables facilitate data transfer between storage devices and the motherboard.
They support hot plugging, meaning the operating system can recognize connected devices without requiring a system restart
2. Types:
SATA I (1.5 Gbps): The earliest version, now obsolete.
SATA II (3.0 Gbps): Commonly used for older hard drives and optical drives.
SATA III (6.0 Gbps): The most prevalent type, suitable for modern SSDs and HDDs.
SATA Express: Combines SATA and PCIe for faster speeds (rarely used).
eSATA: External SATA for connecting external drives.
Micro SATA: Smaller form factor for compact devices.
Low Profile SATA: Designed for slim cases.
3. Installation:
Connect one end of the SATA cable to the drive (HDD/SSD/optical drive).
Connect the other end to the motherboard’s SATA port.
Secure the cable using the locking latch on both ends.
Ensure proper power connections (SATA power cable) to the drive as well.
4. Buying Options:
You can find SATA cables on online platforms like Amazon.
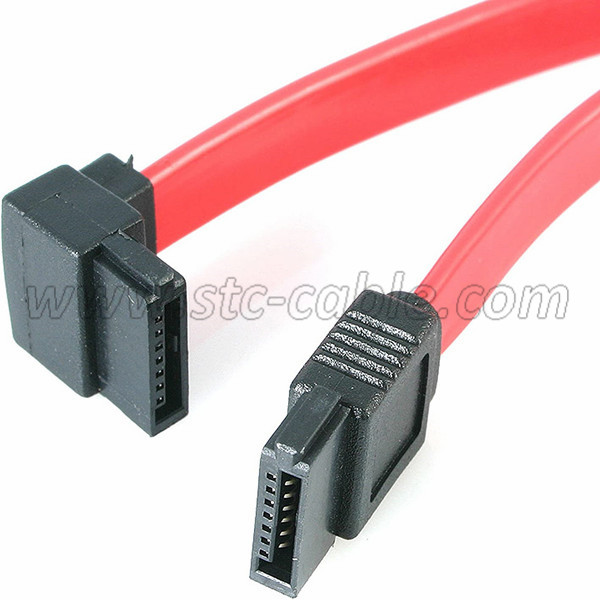
Consider factors like cable length, right-angle connectors, and color options.
Popular brands include STC, STC-Cable.
Cable lengths typically range from 18 inches to 3.3 feet (1 meter) or longer
Remember to choose the appropriate SATA cable type based on your specific needs and hardware compatibility!
What is the standard SATA cable?
Send your message to us:
Post time: Jul-09-2024