Can you explain how to set up RAID using Mini-SAS drives?
Setting up RAID (Redundant Array of Independent Disks) using Mini-SAS drives involves configuring the RAID array through a RAID controller or Host Bus Adapter (HBA) that supports Mini-SAS connections. Here’s a general guide to set up RAID using Mini-SAS drives:
1. Verify Hardware Compatibility:
Ensure that your server or workstation has a RAID controller or HBA with Mini-SAS ports (typically SFF-8087 for internal connections).
2. Install and Connect Drives:
1> Physically install the Mini-SAS drives into the drive bays of your server or storage enclosure.
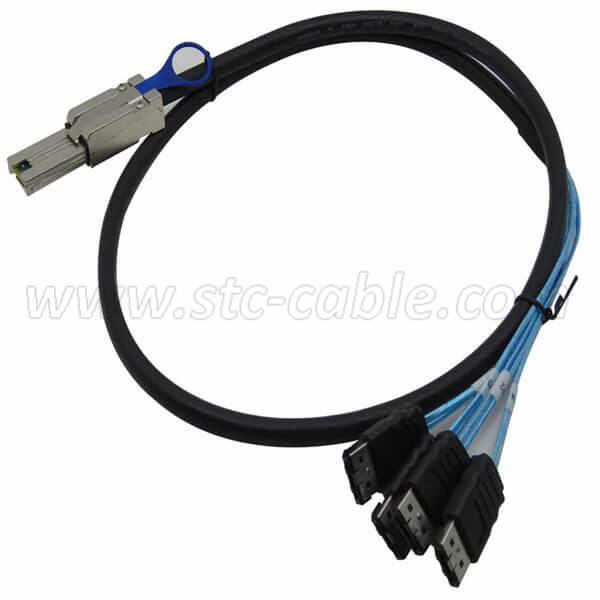
2> Connect each Mini-SAS drive to the Mini-SAS ports on your RAID controller or HBA using Mini-SAS cables.
3. Access RAID Controller Configuration:
Power on your server and access the RAID controller configuration utility. This is typically accessible during the server’s boot process by pressing a key combination (e.g., Ctrl+R for Dell PERC controllers, Ctrl+M for LSI MegaRAID controllers).
4. Create RAID Array:
1> Once in the RAID controller configuration utility, follow these general steps (specific steps may vary based on your RAID controller model):
a. Initialize Drives: If the drives are new or have data you want to erase, initialize them to prepare for RAID configuration.
b. Create RAID Volume:
1> Choose the RAID level you want to create (e.g., RAID 0, RAID 1, RAID 5, RAID 10).
2> Select the drives from the list available. The RAID controller will show the connected drives as eligible members for the RAID array.
3> Configure additional settings such as stripe size, read/write cache settings (if applicable), and RAID array name.
c. Confirm and Create:
1>Review the configuration summary to ensure everything is set correctly.
2> Proceed with creating the RAID volume. This operation will format the drives and create the RAID array according to your specified parameters.
5. Initialization and Parity Check:
After creating the RAID array, the RAID controller may initiate an initialization process (sometimes called initialization or parity check) where it verifies and initializes the RAID array. This process may take some time depending on the size of the drives and RAID level.
6. Operating System Configuration:
1> Once the RAID array is created and initialized, you may need to install or configure the operating system (OS) to recognize the RAID volume.
2> Ensure that the RAID controller drivers are installed in the OS to properly manage and monitor the RAID array.
7. Monitoring and Maintenance:
1> Regularly monitor the RAID array status using the RAID controller’s management software or through the server’s management interface.
2> Replace failed drives promptly to maintain data redundancy and reliability.
Additional Tips:
1> RAID Levels: Choose the RAID level based on your performance, capacity, and redundancy requirements. RAID 1 (mirroring), RAID 5 (striping with parity), and RAID 10 (striping and mirroring) are common choices for server environments.
2> Backup: RAID provides redundancy, but it's not a substitute for regular backups. Always maintain backups of critical data.
3> Consult Documentation: Refer to the RAID controller’s user manual or manufacturer’s documentation for specific instructions and best practices tailored to your hardware.
By following these steps, you can successfully set up RAID using Mini-SAS drives, ensuring data protection, performance, and reliability for your server storage solution.
Send your message to us:
Post time: Jul-25-2024